Menu Template:
Red Navigation Buttons - Rounded Corner


 |  |  |
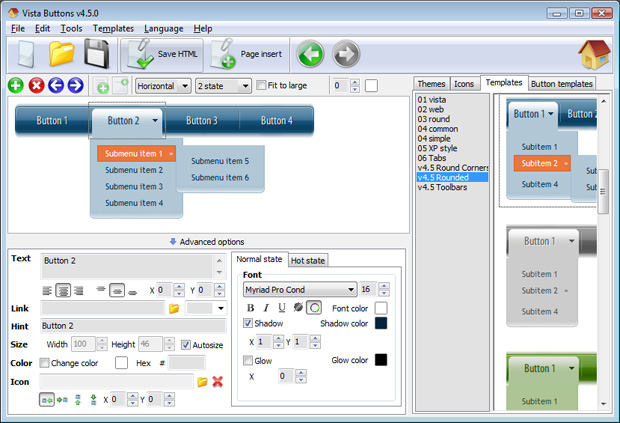
Three State Images In Dreamweaver
This menu is generated by Dreamweaver Menu Extension.
Create your own menu now!

| | |
This menu is generated by Dreamweaver Menu Extension.
Create your own menu now!


You can use "Save as HTML" function.
You can enter any name you like, for example enter "menu":
So you'll have menu.html file and "menu-files" folder with all menu files.
2). You can add javascript drop down menu to a single page or to many pages using library or Dynamic Web Template so that you won't have to add it into each page separately.
 (please include template name in the message title)